Hello World with Rust and WebAssembly
This article is part of a serie: Rust and WebAssembly
- Hello World with Rust and WebAssembly
- Introduction to Rust and WebAssembly
For the second part of my Rust & WebAssembly journey, I will write a basic hello world project.
Note: you can jump to the demo by clicking here.
This will give me the opportunity to demonstrate how to write a simple Wasm module in Rust. I will focus on a simple frontend and ignore the backend: no complicated GET or POST requests, no websockets, etc. This article will present how to build a simple game, such as Matt’s Pont. For more ambitious games, for instance with multiplayers, I’ll probably cover websockets in a following article.
Throwing Ferris
I am going to build a very simple game, with just enough features to demonstrate how to manipulate the DOM and handle events:
the Wasm module will listen for mousedown events, and spawn a Ferris when the user clicks.
The Ferris will have an initial velocity and fall down due to gravity.

This will demonstrate how to:
- Add elements to the DOM
- Handle events with callbacks (
mousedown) - Update the DOM with callbacks (
setInterval())
Frontend
In this section, I will focus on the actual Wasm module. In particular, there are a few caveats that one needs to pay attention to. I will explain them to avoid you wasting too much time.
I will talk about the backend in a next section. It does not matter much here, and will be rather straightforward.
Creating the project: cargo new
Creating a Wasm module starts like any Rust project: cargo new throwing-ferris.
But before one can start writing code, Cargo.toml needs a few adjustments.
First, the module will not be compiled with cargo directly, we will later see how to use wasm-pack.
Wasm-pack expects the project to be compiled as a library, not an executable.
To do this, you need to specify a lib section with crate-type = ["cdylib"].
Since cargo will now look for src/lib.rs, I also like to add path = "src/main.rs", I think it makes more sense.
Second, we need (at least) two dependencies: wasm-bindgen and web-sys.
The first one does not have any particularities, but the second one, web-sys, does.
It is used to access JavaScript APIs.
It is very modular, and before compiling, the features used in the project need to be specified.
Here are the features needed by our hello world project:
|
|
The features to be enabled are mentioned in the crate documentation, in the description of each method.
The final Cargo.toml should look like this:
|
|
Entry point: pub fn main()
For the first lines of code, let’s start with the entry point, before talking about DOM manipulation and Ferris implementation.
Entry Point
Naturally, a few imports are needed: wasm_bindgen::prelude::* is the absolute minimum.
Since I am here, I will also import what will be needed later, in particular web-sys for DOM accesses.
To access some JavaScript APIs, js-sys could be needed as well.
Exported functions can have any name: a Wasm module does not expects any special name, only the #[wasm_bindgen] attribute macro and the pub attribute.
In my example, main is just a convention.
Note that you can specify a function to be executed when the Wasm module is loaded.
To achieve that, use #[wasm_bindgen(start)].
Here is a minimal entry point, which, at the moment, does absolutely nothing. Very boring I must say.
|
|
At this point, you should be able to compile, which I explain a bit later in this article. Nothing very interesting will happen, so you’re better off not skipping anything and just keep reading!
Note that there is no point in adding some println(), since there is no stdout.
To see something, you would have to use JavaScript’s console.log() or alert().
Alternatively, you could also return a value, for instance a string, and print it from the JavaScript code executing the Wasm module.
Minimal Hello World
Let’s try to add something in the DOM.
To manipulate the DOM and to create elements, you will first need a handle on document.
You can get it from the window object, itself obtained through web_sys::window().
Since that’s Rust, every call could fail, so there are a lot of Options everywhere, unwrapped with unwrap().
If the call to get window fails, or if create_element() fails, everything is probably on fire, so most probably crashing is not a big deal.
Of course, it depends on your requirements, but for the moment I’ll just sprinkle some unwrap() and continue.
Creating an element is quite straightforward, since web-sys follows JavaScript’s API.
Here, I first create a <p>, and then a <div> which will contain our Ferris.
To set the HTML content of an Element, set_inner_html() can be used.
Note that I also set an HTML id to my canvas.
The goal is to make it easier to get a handle on that later with get_element_by_id(): adding Ferris will use a closure binded to the mousedown event.
I could also pass a canvas reference to the closure, but Rust’s borrow checker would be verbose and complicated.
Using an id is much easier.
|
|
Now this is a basic hello world.
You could compile and run it, and see a new <p> appear.
But again, let’s be a bit more ambitious and continue.
Main object: struct Ferris
The idea is to have a Ferris with a position and a velocity, moving through the canvas.
We will first declare the structure, then implement the Ferris::new() method (called by the mousedown event handler), and finally implement a Ferris::update() method (called every given time interval).
Structure declaration
The structure is quite straightforward.
I include a web_sys::HtmlElement which will hold the HTML representation of our Ferris, so we can update its properties (position, but we could change any other CSS or HTML properties).
It is wrapped in an Option, because it will be deleted when it reaches the edge of the canvas.
If it was needed to keep it around (in case it could reenter the canvas at some point), we could also use a boolean and just temporarily hide the HTML element.
|
|
Ferris::new()
The Ferris::new() method has some interesting points worth mentioning.
When creating the HTML element, document.create_element() returns a generic web_sys::Element.
But later it will be needed to update the CSS attributes to control the position, which is done by calling the style() method.
This method can only be called on an web_sys::HtmlElement, which is why the web_sys::Element must be casted into an web_sys::HtmlElement with dyn_into().
The second point worth explaining is the closure, which has caused me a lot of frustration.
Passing closures to JavaScript callbacks is a bit complicated, and I have not yet found a clean and easy way to do it.
A lot of magic is needed to avoid cryptic errors and make the borrow checker happy.
The main idea is to declare a callback: Closure<Box<dyn Fn()>> variable, and pass callback.as_ref().unchecked_ref() to the set_interval() function.
In our case, we use FnMut() instead of Fn(), because our Ferris object is mut.
An important thing not to forget, is to call callback.forget(): it is needed to tell Rust to not destroy the callback when exiting from the function.
This is the quick and dirty way, in real production code, one would at least want to save the handler returned by set_interval() to be able to stop the calls and free the callback.
The documentation has some examples.
|
|
Ferris::update()
After the complex Ferris::new() method, the Ferris::update() method is very simple.
First, the HTML element is checked to make sure it is not None.
If it is None, then the object has been deleted (but the callback is still running, because we don’t cancel it, for ease of implementation).
Then, the physics is updated.
Until here, nothing fancy.
Finally, the interesting part: the CSS property is set via html.style().set_property().
|
|
Integrating everything with the mousedown event
Lastly, to connect everything, a new Ferris will be instantiated at each mouse click.
For this, I will bind a simple closure to the mousedown event, which will just create a new Ferris object.
The code for the closure is similar to the one in Ferris::new(), which I already explained, so I won’t get into the details here.
The only difference is the closure parameter web_sys::MouseEvent.
Note that the mousedown event will pass a web_sys::MouseEvent to the closure.
If the closure declares another type, for instance a web_sys::KeyboardEvent, it will crash.
I’m not sure how this could be prevented at compiled time, but in any case the crash is pretty obvious if you execute the closure at least once.
|
|
This concludes the frontend code, which was the most complicated. To finish this section about the frontend, there is one last step: compilation.
Compilation
Compilation, although simple in theory, can be difficult, especially for new and unstable technologies such as Rust-Wasm.
There are several ways of compiling Rust into a Wasm module. For personal reasons, I don’t want to use NPM nor Webpack, unless absolutely required (I’m a C-Python-Rust dev, sorry not sorry). In the Wasm world, this means that we will compile without a bundler.
The magic command is: wasm-pack build --target web.
In addition to the usual (in Rust world) target/ folder (which we don’t care here), wasm-pack will create a pkg/ folder with several files.
Amongst them, one will of course find the famous .wasm module, but also a .js which contains some glue code to bootstrap the Wasm module.
There are a few other files, but for our small toy example, they are not important (again, I’m not a frontend dev, I don’t use Typescript & cie. files!).
Note that cargo is not called manually, wasm-pack takes care of it with its single-command compilation.
One important remark, which made me lost a lot of time scratching my head:
--target no-module is the older way of compiling without a bundler, so it might still be mentioned in some places.
But it has some limitations, and more importantly, the JavaScript code to instantiate the Wasm module is different.
If you have some weird errors, double check this.
In our case, we stick with --target web.
The official documentation, with several examples, can be found here.
Backend
With the main app done, we can now switch to the less interesting, but nonetheless necessary, part: the backend. For my small example, I will write a minimal HTML file with a few lines of JavaScript, just enough to load and run our Wasm module.
Loading the Wasm module
I had a few issues to make this work. There was mainly two things to get right:
- The first one is obvious and common in web development: the path of the Wasm files was bad and lead to a 404.
- The second one is due to
wasm-pack’s--targetoption: the JavaScript used to load the module is different when usingweborno-module.
In our case, the correct version (for --target web) is as follows.
I’m definitely not a JavaScript expert, so I won’t comment.
In any case, apart from the custom CSS, the code is just a copy paste, and looks pretty simple.
|
|
We can run this awesome and feature-full website (haha) with Python’s builtin web server: python3 -m http.server
For a deployment to a production environment, the Wasm module would be saved alongside the static files (CSS, images, etc).
Demo
If you did everything right, you should see something similar to this:
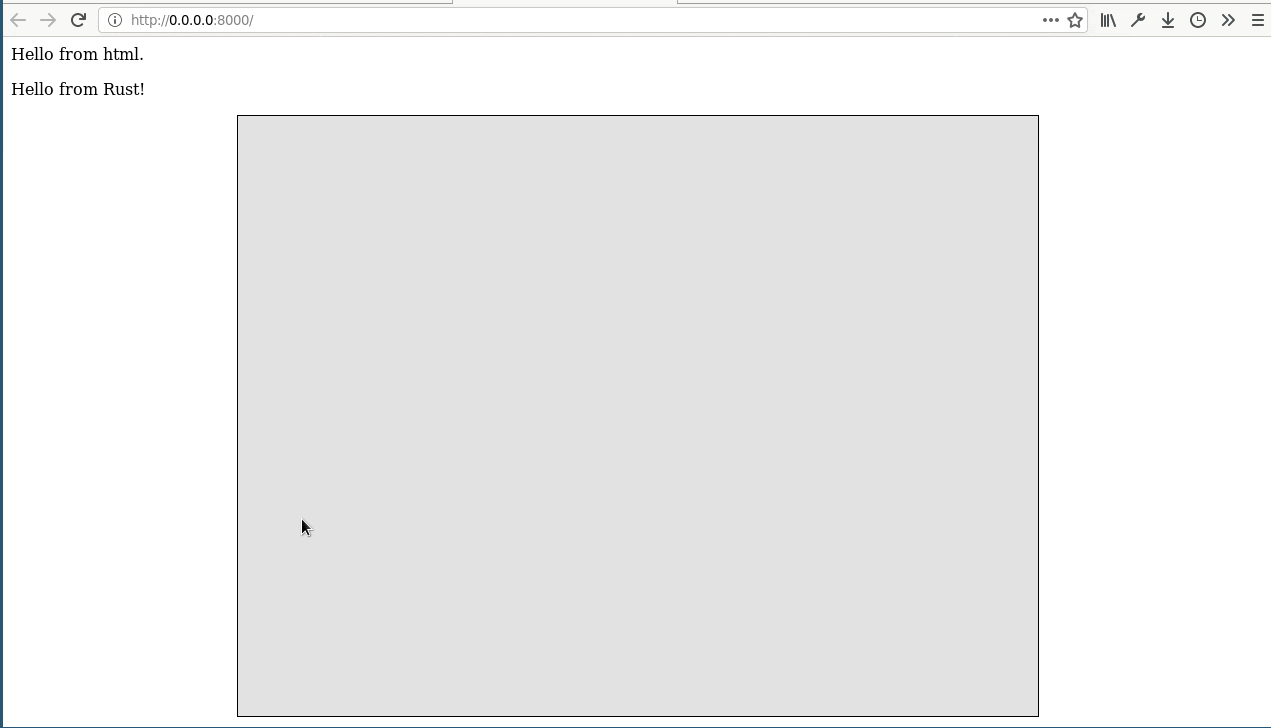
You can play yourself with an online demo here.
Internals - how does it work
I’m always interested in looking under the hood of things to see how they work. WebAssembly is a real world piece of tech and not a toy project taking shortcuts and using simplified hypothesis. Nonetheless, it probably is quite clean and easy to play with, because it comes from a clean sheet design, with a instruction set designed for an ideal/virtual processor. The end result is that there probably are very few workarounds such as one could find for the x86 (booting in 16 bits Real Mode, then switching to 32 or 64 bits Protected Mode… It’s a mess of hacks to ensure backward compatibilities and avoid edge cases).
So, let’s try to trace the execution path, and see how we go from the HTML to Wasm.
- The main HTML file
index.htmlis loaded importloads the filethrowing_ferris_frontend.jswhich exports a (default)init()and amain()functions- When called,
init()loads the Wasm module withWebAssembly.instantiate(). It returns aninstanceobject, whoseexportwill be binded to thewasmvariable (this is important for the next step). - When
main()is called, it calls in reality thewasm.main()function, which is of course themain()function of our Wasm module which was exported with#[wasm_bindgen]andpub.
Conclusion
What we have learned
I have shown how to create a small hello world project with Rust and Wasm. It demonstrates how to write a simple game which manipulates the DOM and plays with callbacks. It can be used as a stepping stone for more ambitious projects, for instance by adding websockets and a backend.
Next steps
If you want to continue in Rust-Wasm game development, you can have a look at the following projects. The code is surprisingly short and simple, for the result it produces.
- RustWasm’s Paint example. There are also a few other examples being written (parallel raytracing and a TODO MVC app).
- Matt’s Pont game, which I already mentioned in my previous article. This is a great example of a basic game with a very simple code.
- Olivia’s Sokoban game: a more ambitious game using an existing 2D game engine.
Next article
For my next article, I might implement Chrome’s Dino game. It’s a good step to a simple but real game. My in progress Tarot project is a bit big and I think it is better to avoid taking a bite to big to chew.
Alternatively, I might do a small example with a Rust backend to show how to use websockets, Serde, and the Rocket web framework.